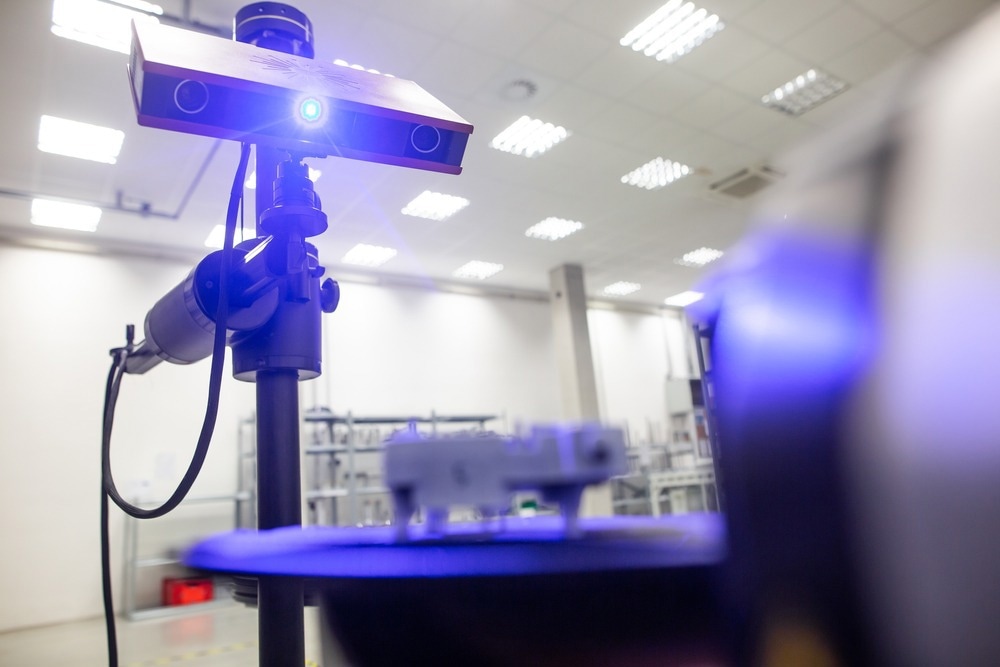
A recent study in Polymers suggests a novel, environmentally friendly three-dimensional technology for optical inspection. It allows precise 3D optical inspection without spraying an anti-glare mixture on a component's surface.

Study: An Environmentally-Friendly Three-Dimensional Computer-Aided Verification Technique for Plastic Parts. Image Credit: Simon Kadula/Shutterstock.com
Plastic parts are important in energy conservation and energy savings. Compared with metal, plastic products have some benefits, including lower production costs, waste, part weight, and higher corrosion resistance.
Disadvantages of Spraying an Anti-Glare Mixture on Scanning Surface
The spraying of an anti-glare mixture of ethanol and TiO2 powder on the scanning surface has several drawbacks. The spraying time for a mixture of ethanol and TiO2 powder increases as the size of the measuring object increases.
Spraying the anti-glare mixture in large quantities raises the cost of the initial work.
Removing the anti-glare mixture is time-consuming if the measured surface contains several minute pores or cracks. Lastly, the measuring object might be harmed when the spraying mixture is removed after the 3D optical measuring.
Benefits of Scanning Without Spraying an Anti-Glare Mixture
Not spraying an anti-glare mixture of ethanol and TiO2 powder on the scanning surface has several benefits, including no damage to the tested object, reduced setup time before 3D optical scans, and cost reductions.
Non-Contact Measuring Approach
Compared to metal parts, plastic parts can fulfill the functional requirements of a new product. The plastic surface is not reflective. It is difficult to carry out 3D optical inspection on transparent plastic objects, according to practical industry experience. Plastic components can be made reflective by two approaches: the conventional contact measuring approach and non-contact measuring technique.
The non-contact measuring technique offers a better measurement efficiency than the conventional contact measuring approach, which is why it is so prevalent in current polymer engineering. The non-contact computer-aided verification method is used frequently in the plastics industry because it has a higher measurement efficiency than the standard contact measurement technique.
A non-contact GOM ATOS Triple Scan II optical 3D scanner is used often in various engineering procedures because it uses structured blue light to perform accurate scans with high speeds and detailed resolutions.
Sensors are currently made as adaptable 3D scanners for challenging inspection duties in various industries. To achieve maximum precision and produce an optical 3D measurement, the standard engineering procedure is to matte the measuring item by misting it with an anti-glare mixture of titanium oxide (TiO2) powder and ethanol.
Development of Non-Contact Computer-Aided Verification Technique
kuo et al. propose a unique, environmentally friendly 3D computer-aided verification (CAV) method using an ATOS optical 3D scanner, which can perform exact 3D optical inspections of a measured item without spraying a mixture of ethanol and TiO2 powder.
In engineering practice, an ATOS sensor must be calibrated using a calibration framework before optical measurement. To eliminate unwanted reflections during optical measurement, the researchers sprayed the surfaces of the measuring items for calibration purposes.
For 3D optical measurements in this work, the researchers’ used two lenses and one rotating stage. The GOM 3D program modifies the scanned data’s quality, resolution, area, and exposure.
The primary objective of adhering reference points to the surfaces of the measurement component was to enable the scanning probe to recall the measurement object's relative location. Thus, the number of reference points can be overlaid onto the scanned data. The results obtained were added to the empirical technical database for accurate 3D optical measurements of objects with non-sprayed surfaces
Research Findings
Plastic items are strong and light and can satisfy all customer needs. For measuring items with straightforward or complex shapes, the non-contact measuring system works well. The work's objective was to suggest a cutting-edge, environmentally friendly 3D CAV method using an ATOS optical 3D scanner. When used on non-sprayed ethanol and TiO2 powder surfaces, this method enables accurate 3D optical measurements.
Researchers discovered that the study's findings met the sustainability development standards because the dimensional average inaccuracy of the two plastic pieces has been kept under control at roughly 3 µm and 4.7 µm. The research findings have industrial applicability and practical significance.
Conclusion
The study's astonishing results were beneficial and offer the plastic industry the most potential for use because they demonstrated accurate 3D optical measurements of objects without spray.
Due to the creation of an empirical technical database for accurate 3D optical measurements of objects with non-sprayed surfaces, the research results met the objectives of the SDGs.
Reference
Kuo, C.-C., He, Z.-Y., & Lee, C.-X. (2022). An Environmentally-Friendly Three-Dimensional Computer-Aided Verification Technique for Plastic Parts. Polymers, 14(15), 2996. https://www.mdpi.com/2073-4360/14/15/2996/htm
Disclaimer: The views expressed here are those of the author expressed in their private capacity and do not necessarily represent the views of AZoM.com Limited T/A AZoNetwork the owner and operator of this website. This disclaimer forms part of the Terms and conditions of use of this website.