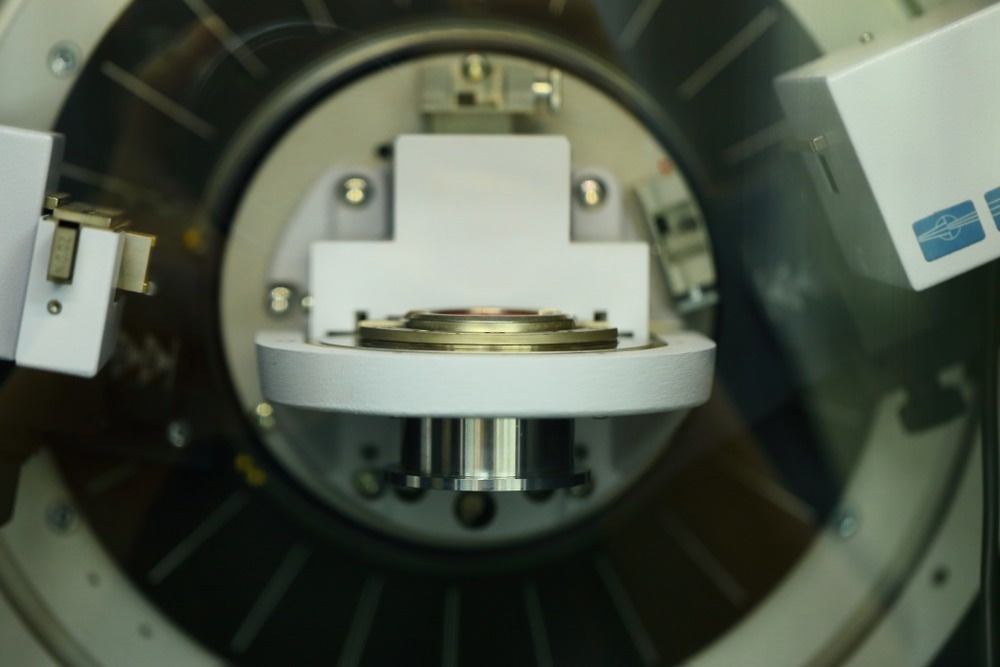
Tribology International's pre-proof paper highlights the non-destructive application of synchrotron X-ray diffraction and computed tomography (CT) imaging to analyze the development and magnitude of wear damage.
 Study: Use of synchrotron X-rays for direct observation of wear damage in optically-opaque contacts by means of CT imaging and X-ray diffraction. Image Credit: AgriTech/Shutterstock.com
While various strategies for assessing wear phenomena have been developed, most require the removal of the wearing contact. For the first time, this study illustrates the benefit and viability of quantifying and observing wear by combining X-ray tomography and diffraction without disrupting the wearing contact. This paves the way for in-situ wear observations.
Significance of Wear
Frictional surface changes must be carefully monitored in wear studies. These modifications include roughening surfaces, accumulation, chemical reactions and movement of the wear debris, and subsurface modifications such as grain refining and recrystallization.
The development of realistic wear models depends on a thorough understanding of these processes and their involvement in wear.
Aside from measuring the damage and extent of wear in terms of mass or volume of material removed, a tribologist is interested in other quantities such as area of contact, surface roughness, wear debris particle size, and the thickness of the tribologically altered structure.
Limitations of Traditional Wear Measuring Techniques
Numerous methods have been developed for assessing wear phenomena. However, most of them dismantle the wear interface to perform profilometry, weighing, metallography, microscopy, and electron backscatter diffraction.
Traditional methods of observing wear include measuring sample element thinning with position sensors and transparent counter-bodies. These techniques frequently involve unique material combinations that do not mirror in-service circumstances.
For the analysis of metal-to-metal contacts, an approach that allows examination of wear without disrupting the wear process would be of significant benefit. As a result, models for wear initiation, debris bed growth, and tribologically modified structure formation could be analyzed, making it possible to observe and measure the wear in real-time.
Using X-Ray Synchrotron Tomography and Diffraction to Examine Wear
An in-situ experiment with 6082-T6 aluminum alloy was conducted to test the effects of fretting wear on the material before using synchrotron X-ray CT and diffraction.
Two sets of samples were created: one for the wear experiment that ran at a constant normal force and one for each stage of the progression from the unworn to steady-state wear condition.
Wear samples were coated in epoxy putty while loaded to maintain the worn-in condition. A series of samples with varying numbers of wear cycles were analyzed, with each representing a distinct stage in the wear process progression.
X-ray diffraction and CT imaging evaluated the development of tribologically changed structure and residual strain, wear scar thickness, the quantity of material removed, area of contact, and contact porosity.
Non-Destructive Quantification of Wear-Related Phenomena Using X-ray Synchrotron Tomography and Diffraction
The researchers successfully quantified numerous wear-related phenomena using X-ray synchrotron tomography and diffraction without disrupting the contact.
The quantity of material removed and the thickness of the wear scars were consistent with the mathematical model of Iordanoff, Fillot, and Berthier.
With the commencement of wear, the actual contact area drops fast before stabilizing at a new value.
As the wear advances, compressive hoop strain develops beneath the worn surface, increasing the number of cycles and saturating the peak absolute value.
According to the development of various parameters, the transition between the steady-state and transient wear regimes occurs from 200 to 500 wear cycles, with the value beginning or peaking to saturate in this range.
Traditional methods would not have been able to obtain this information without damaging the contact and the sample elements.
Any attempt to monitor wear in a single wear sample requires that the wear zone not be disrupted, which was previously only achievable with optically transparent materials.
The Future of Monitoring Wear
Although only a few data points were collected in this study, and the wear and X-ray portions of the tests were independently conducted, the approach illustrates the potential for comprehensive in-situ observation of wearing metal contacts.
The non-destructive nature of the method, along with the capabilities of synchrotron beamlines to give short imaging periods and support complicated sample settings, makes it feasible to wear the sample on the beam-line and monitor it multiple times throughout wear.
The enormous amount of data generated can be used to track the onset and progression of wear and to evaluate the efficacy of models that forecast it.
Reference
J. Aleksejev, M. Williamson, J.E. Huber, O.V. Magdysyuk, S. Michalik & T.J. Marrow. (2022). Use Of Synchrotron X-Rays for Direct Observation of Wear Damage in Optically-Opaque Contacts By Means Of Ct Imaging and X-Ray Diffraction. Tribology International. https://www.sciencedirect.com/science/article/abs/pii/S0301679X22003826
Disclaimer: The views expressed here are those of the author expressed in their private capacity and do not necessarily represent the views of AZoM.com Limited T/A AZoNetwork the owner and operator of this website. This disclaimer forms part of the Terms and conditions of use of this website.