In a pre-proof article posted in the journal Optik, researchers have proposed a novel high-accuracy visual imaging prototype for targets with multi-depth-of-field, together with a method for achieving the required camera calibration and enhanced visual measurement accuracy.

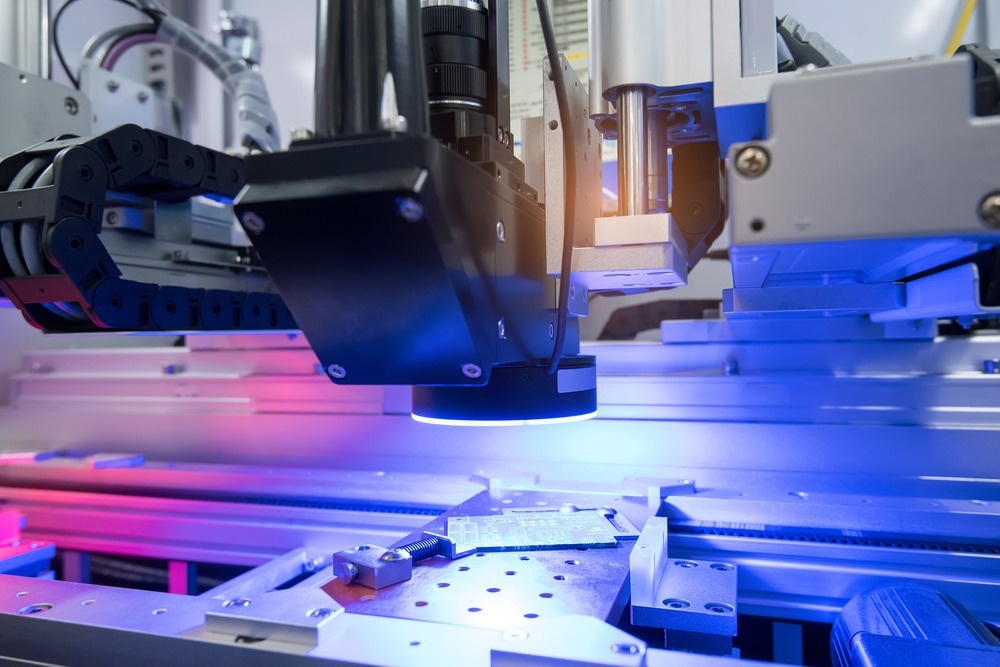
Study: High-precision visual imaging model and calibration method for multi-depth-of-field targets. Image Credit: asharkyu/Shutterstock.com
This novel imaging model for 3D measurement enables exact 3D reconstruction by employing distinct pixel points in the image to represent different internal camera properties based on the imaging target depth.
According to the experimental findings, the camera calibration technique and the imaging model suggested in this study can significantly increase the precision and reliability of visual 3D measurement and have optimistic prospects in the future of large-depth 3D reconstruction.
Visual Imaging Model and Multi-Depth-of-Field Target Calibration Method
The past few decades have seen widespread use of machine vision optics systems. However, measurement accuracy of large-depth constituents such as boxes and racks is necessary for precision manufacturing sectors, including the automotive and aviation industries. Even minor assembly mistakes can result in serious safety risks.
It is challenging to accomplish the requirements of high-precision measurement when using a machine vision optics measurement technique to evaluate the large depth of an object for 3D reconstruction because there are variances in the accuracy of the measurement findings at different depths of the imaging target.
Research on camera calibration techniques and machine vision optics imaging models is crucial because more precise camera parameters are needed to increase the precision of machine vision optics measurement systems.
The present study illustrates a high-precision visual imaging model and multi-depth-of-field target camera calibration. Initially, a high-accuracy visual imaging model is presented by examining the optical aspects of camera imaging, in which the object's depth changes with the camera's optical center.
A suitable method is also suggested for camera calibration that:
- Groups the densely packed calibration plates as per the various depth analyses
- Determines the accurate value of the internal camera variables at a given depth
- Applies an interpolation algorithm to derive the actual value curves of the internal camera variables at a given depth in the camera depth-of-field.
The model's accuracy is finally assessed by measuring the relative errors of 3D measurement.
Experimental Setup for Visual Imaging Model and Calibration Method
In this study, the researchers constructed a binocular machine vision optics system using two cameras with identical configurations. The camera's adequate pixel size is 1280 ´ 720, and the size of the image element is 14.58 ´ 14.58 um2.
The calibration plate is constructed of a black-and-white checkerboard design mounted to the plane of a flat plate measuring 9 ´ 12, i.e., it comprises 108 evenly dispersed feature points with a 30 mm space between each one. Five marker points attached to a three-axis movable platform make up the flat target used to determine the relative variance of the 3D measurement. The total station, situated next to the binocular machine vision optics system, determines the accurate value of the relative distance moved by the marker points space.
A dense calibration image set was created by concurrently capturing 960 photos of tightly packed calibration plates within the camera's depth field using a binocular machine vision optics system.
The extent of the average reprojection error is frequently a crucial indicator in assessing the precision of the camera parameters in traditional camera calibration procedures. It was demonstrated, nonetheless, that the average reprojection distortion does not always precisely reflect the reliability of the camera calibration variables for binocular machine vision optics systems intended for 3D measurements.
The researchers demonstrated that while the 3D measurement errors were significant, the reprojection errors of the derived camera parameters were minor. Therefore, in this study, a more understandable assessment method based on the relative errors of the 3D measurement is used to evaluate the accuracy of the camera calibration variables of the binocular machine vision optics system.
The binocular machine vision optics system primarily relies on the proposition that two cameras create parallax at distinct angles to gather three-dimensional spatial information about the item under test. This technique's application necessitates the computation of the rigid body transformation matrix of both the right and left cameras, respectively, in addition to the internal parameters of both the cameras.
Novel Imaging Model Promises Optimistic Prospects in the Field of Visual 3D Measurement
The present study proposes a high-accuracy state-of-the-art visual imaging model and camera calibration method for a multi-depth-of-field target. In classical vision measuring techniques, the camera imaging model is typically reduced to a pinhole imaging model consisting of a fixed optical center.
However, the classical vision measurement techniques make it challenging to enhance the precision of vision measurement in high-accuracy large-depth 3D reconstruction. To address the issue, the researchers proposed a high-accuracy visual imaging model and calibration technique where the optical center location varies with the depth of the observed target, according to the optical characteristics of camera imaging.
Based on the depth of the imaging object, distinct pixel points in the image utilized different camera internal variables while making 3D measurements, ensuring exact 3D reconstruction. Finally, the relative errors of 3D measurement were calculated to assess the model's accuracy.
The findings demonstrate that by utilizing the machine visual optics imaging model and camera calibration method suggested in the present work, the accuracy and reliability of visual 3D measurement are significantly increased, and the measurement errors are lowered.
The researchers believe the proposed model has a promising future with its broad range of potential applications in large-depth 3D reconstruction.
Reference
Yuguang Hou, Changying Liu, Hao Wang, Yiyao Fan, Bowen An, and Yang Liu, High-Precision Visual Imaging Model and Calibration Method for Multi-Depth-of-Field Targets. 2022. Optik. https://www.sciencedirect.com/science/article/pii/S0030402622010634
Disclaimer: The views expressed here are those of the author expressed in their private capacity and do not necessarily represent the views of AZoM.com Limited T/A AZoNetwork the owner and operator of this website. This disclaimer forms part of the Terms and conditions of use of this website.