Sep 7 2018
Heavy-duty industrial lighting manufacturer Nordic Lights uses computed tomography (CT) to avoid the expense of destructive testing and to eliminate critical measurement errors caused by powder spraying for part preparation.
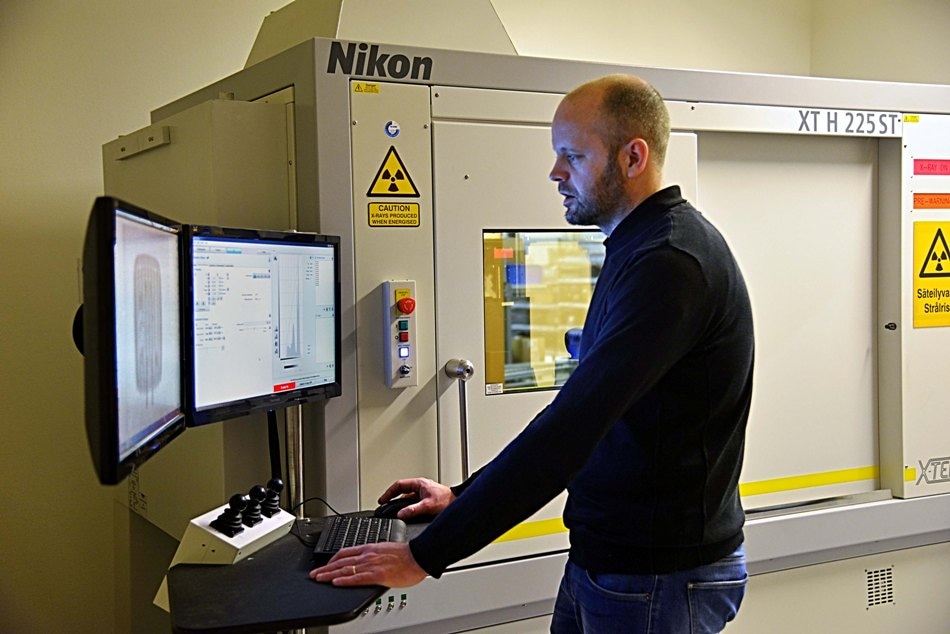
 Carl-Anton Manns operating the Nikon Metrology XT H 225 ST CT system at Nordic Lights.
Founded in 1992 and based in Pietarsaari, Finnish company Nordic Lights manufactures premium lights for the workplace and for heavy duty vehicles deployed in extreme conditions. Its products are used throughout the mining, construction, forestry, material handling and agricultural industries. Customers include industry leaders such as Caterpillar, Liebherr, Sandvik, Komatsu and Volvo.
Lighting assemblies are typically made from aluminium, steel, plastic and glass and their components are manufactured by a range of processes including die-casting, injection moulding and machining. Products are subject to rigorous testing and rely on industry leading inspection methods for quality assurance. Tests include lumen output and light distribution, resistance to chemicals, vibration, shock, dust, humidity, heat and cold, thermal cycling, thermal protection, electromagnetic compatibility, functionality and usability, and performance under abnormal conditions.
Many components incorporate ribs, pins and cylindrical holes that were previously inspected by Nordic Lights using a white light system. Scanning components with narrow or tight features is difficult when the details are too deep for the light to detect. Another problem with this inspection solution is that, to avoid unwanted reflections, smooth surfaces have to be painted or powder sprayed. This however introduced measurement errors on critical surfaces where precise tolerances are required, slowing the whole process. Furthermore, as the white light system was only capable of line-of-sight external surface inspection, internal defects were neglected. To gain a comprehensive picture of the inside, samples and products were subject to expensive and time-consuming destructive testing.
To supersede the white light system, a new measurement solution was required capable of dealing efficiently with a variety of materials as well as both internal and external feature inspection. The Nordic Lights team consulted various suppliers to determine the best solution. A Nikon CT machine, XT H 225 ST, with dual reflection and transmission targets has since been installed at Nordic Lights to inspect and approve components before assembly.
The primary purpose of the CT system is to validate samples from suppliers, new parts and modified parts from new moulds. A secondary purpose is troubleshooting. During the test phase, if there are any failures, complete assemblies can be scanned to identify the cause without having to open or destroy the product. The system has, for example, been used to search for air pockets or voids in the silicone glue between the aluminium housing and the lens of a light that has suffered water leakage. This would not have been possible with the white light system.
Test engineer Carl-Anton Manns, who took part in the search for a new inspection system explained, “The instrument needed to be able to analyse smooth reflective surfaces with high precision, which the XT H 225 ST does with repeatable accuracy. Being a non-destructive process was a big plus point as well.
“Verifying the tool that makes the prototype part at the beginning of a project avoids a lot of trouble later on. With Nikon CT, we can easily verify all dimensions and check for defects without having to destroy samples, which is important so they can be preserved for other inspection tests. There are also important savings in time and money by avoiding sample preparation such as painting or cutting."
A major factor in the decision making process was the open tube source of the Nikon machine, which allows straightforward maintenance and results in lower costs and downtime. The availability of rapid and comprehensive service from Nikon support engineers was also a critical factor in the decision making process.
A further advantage of the CT system is that it can provide precise results for dimensions and tolerances that Nordic Lights' customers demand for optical parts, lenses, light guides and reflectors. During a development phase, defects can be identified, traced and eliminated before parts pass to production. Likewise, samples from suppliers, new parts or new moulds can be compared to their CAD models before assembly.