Accumold Case Study
When it comes to maximizing efficiency, Accumold relies on ZYGO coherence scanning interferometer equipment.
Overview
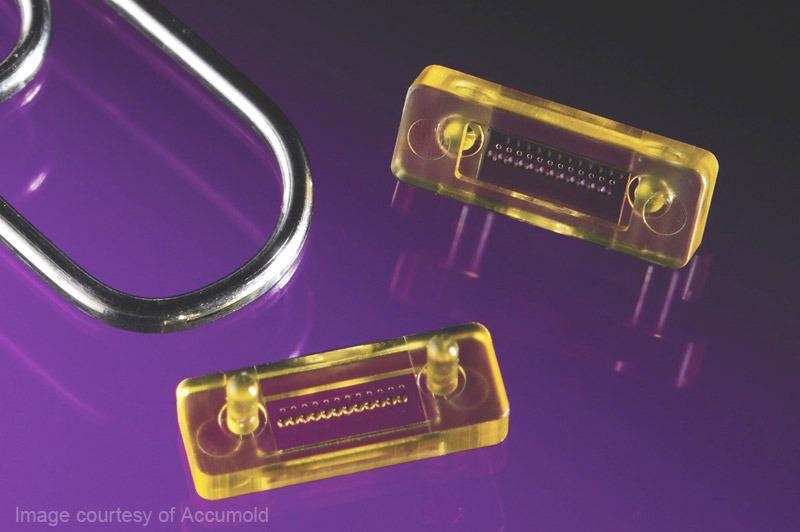
A pre-eminent micro molding company, Accumold has a range of experience in fabricating precision micro, small and lead-free plastic components that are injection-molded.
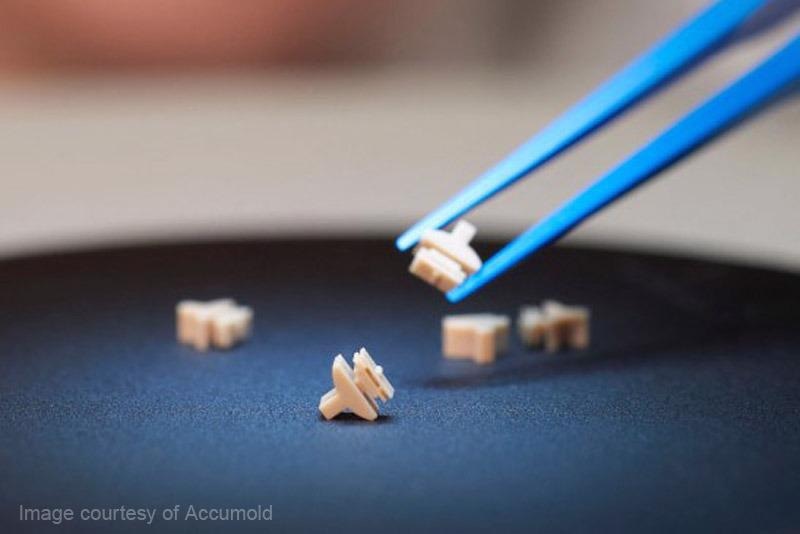
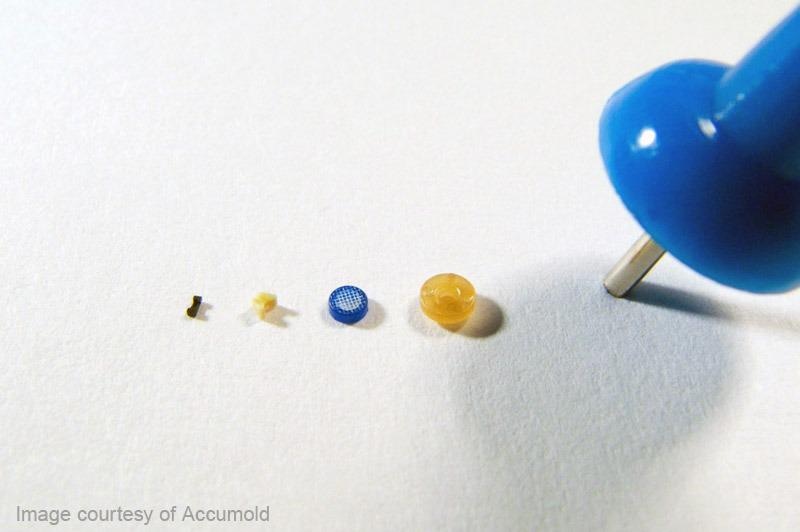
Accumold prioritizes validation and achievements of the high standards its customer base expects - essential when it comes to creating minuscule safety-critical components smaller than a grain of sand. In order to achieve this exact measurement and validation work, the company has partnered with ZYGO.
Metrology is essential for Accumold at all stages of the micro-molding process, as truly vital enabling technology. Metrology both assists in improving and streamlining part design as well as making components that are easier to mold and measure, that perform optimally in end-use applications.

Image Credit: Accumold
The Challenge
Metrology and validation-relation issues can be challenging in micro molding, particularly when it comes to part size, print tolerances, part fixturing and surface roughness introducing a further layer of complexity. Of these, part size is the serious challenge.
Micro molded parts can have features that are only visible under a magnification of 10x or greater and that is dimensioned in microns.
Surface roughness poses a further unique challenge, thanks to the essential size and small size of finish which can mean minuscule variations can have significant effects on the final products, more so than is the case with larger components.

Image Credit: Accumold
The Solution
Optical metrology can measure without causing any damage to features or surfaces on components that can be delicate, which makes it truly vital. Thanks to its inherent speed in comparison to contact systems and ability to undertake full-field measurement, optical metrology additionally also stimulates the move to greater manufacturing automation.
Accumold relies on ZYGO’s coherence scanning interferometer equipment to remain at the apex of the micro molding industry.
The company uses a bespoke metrology solution to characterize a molded lens against its aspheric design, as well as using ZYGO’s NewView™ optical profilers to measure the roughness of 3D surfaces and critical Z-height dimensions.
Precise, quantitative, non-contact, ISO-compliant surface measurements are facilitated by ZYGO’s instruments, as is the characterization of both micro- and nano-scale surface features – to the point of capturing up to two million data points in a single second.

Image Credit: Accumold
The Benefits
The data gathered by the ZYGO equipment has been truly essential in proving molding and measurement capability to its client base over the years. ZYGO’s solutions have continued to inspire confidence in Accumold’s processes and products after having remained their consistent partner for many years.
Accumold has additionally shared the data available from the ZYGO tools with their clients in order to assist with any in-house analysis.
ZYGO continues to provide market-leading pragmatic and innovative solutions to changing metrology requirements.

This information has been sourced, reviewed and adapted from materials provided by Zygo Corporation.
For more information on this source, please visit Zygo Corporation.